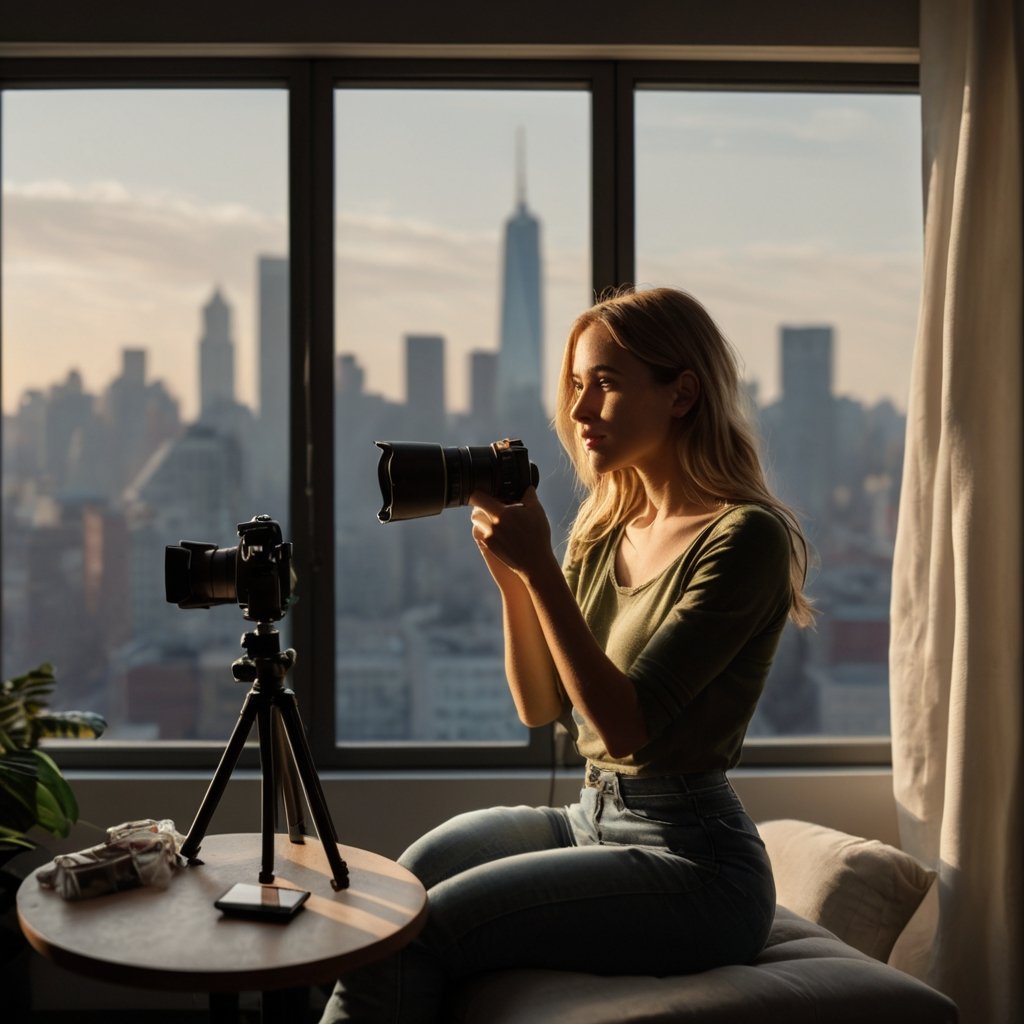
Creating content for your personal brand or business doesn’t have to be complicated or expensive. With just a few pieces of basic video equipment, you can start making amazing videos that will help you stand out. Whether you’re a beginner or looking to improve your content, this guide will show you what you need and how to get started. Plus, I’ve included links to the equipment I use, so you can easily get what you need from Amazon.
Why Video Content is Important
Before we dive into the equipment, let’s talk about why video content is so important. Videos are a great way to connect with your audience. They allow people to see and hear you, which helps build trust and make your brand more relatable. Plus, videos can be shared on social media, your website, and other platforms, making them a versatile tool for reaching more people.
The Basic Video Equipment You’ll Need
Here’s a list of the basic video equipment you’ll need to start creating high-quality content:
1. Smartphone or Camera
A good camera is essential for creating clear and engaging videos. You don’t need to buy an expensive camera right away. Many smartphones today have excellent cameras that can record high-quality videos. If you have a bit more budget, you can invest in a DSLR camera for even better quality.
2. Tripod
A tripod helps keep your camera steady while you’re recording. This makes your videos look more professional. There are many affordable tripods available that can hold both smartphones and cameras.
3. Microphone
Good audio is just as important as good video. An external microphone can greatly improve the sound quality of your videos. There are different types of microphones, like lavalier (clip-on) mics, shotgun mics, and USB mics. Choose one that fits your needs and budget.
4. Lighting
Proper lighting can make a huge difference in how your videos look. You don’t need fancy studio lights. A ring light or a couple of softbox lights can provide enough light to make your videos look bright and clear.
5. Green Screen
A green screen allows you to change the background of your videos, making them more interesting and professional. It’s not necessary for everyone, but it can be a fun addition if you want to get creative with your content.
6. Editing Software
Once you’ve recorded your video, you’ll need to edit it. There are many free and paid video editing software options available. For beginners, free software like iMovie (for Mac users) or Shotcut (for Windows users) can work well. As you get more comfortable, you might want to invest in more advanced software like Adobe Premiere Pro.
7. Computer or Laptop
You’ll need a computer or laptop to edit your videos. Make sure it has enough processing power to handle video editing software.
8. Backdrop
If you don’t want to use a green screen, a simple backdrop can help create a clean and professional look for your videos. You can use a plain wall or buy a backdrop stand and some fabric.
9. Storage Devices
Videos can take up a lot of space, so it’s a good idea to have some external storage devices like hard drives or SD cards to store your footage.
10. Accessories
Depending on your setup, you might need some additional accessories like extra batteries, chargers, or cables. Make sure you have everything you need before you start recording.
How to Get Started
Getting started with video content creation doesn’t have to be overwhelming. Here are some simple steps to help you begin:
- Plan Your Content: Decide what you want to talk about in your videos. It could be tips related to your business, product reviews, or personal stories.
- Set Up Your Space: Choose a quiet, well-lit space to record your videos. Set up your camera, tripod, microphone, and lighting.
- Record Your Video: Hit the record button and start filming! Don’t worry about making mistakes; you can edit them out later.
- Edit Your Video: Use your editing software to cut out any mistakes, add text or graphics, and make your video look polished.
- Share Your Video: Upload your video to social media, your website, or other platforms. Make sure to share it with your audience and encourage them to watch and share.
Overcoming the Fear of Spending Money
It’s normal to feel hesitant about spending money on video equipment, especially if you’re just starting out. Here are a few tips to help you feel more comfortable with the investment:
- Start Small: You don’t need to buy everything at once. Start with the essentials and gradually add more equipment as you go.
- Look for Deals: Check for discounts, used equipment, or bundle deals to save money.
- Think of it as an Investment: Good quality equipment will last a long time and can help you create better content, which can attract more customers and grow your business.
- Use What You Have: If you’re on a tight budget, use what you already have, like your smartphone, and upgrade later.
Click My Amazon Links
To make it easy for you, I’ve included links to the equipment I use. Click on the links to check them out and get started with your video content creation:
3-In-1 Mini Lavalier Mic: https://amzn.to/3y0Dtxh
2-Pack LED Video Lights: https://amzn.to/4bYZtpU
14″ Foldable Ring Light: https://amzn.to/4di6Ji1
Elgato XL Green Screen: https://amzn.to/4dcbWYz
Creating video content for your personal brand or business is a great way to connect with your audience and grow your brand. With just a few pieces of basic equipment, you can start making professional-looking videos. Don’t be afraid to invest in good equipment; it’s a worthwhile investment that can pay off in the long run. Start small, use what you have, and gradually build up your gear as you go. Happy filming!


